
From idea to live
The steps between "we should have a marketplace" and members using it.
Getting a marketplace live means mapping what your exchange is for, setting it up with your categories and first providers, adding payment setup if you'll take payments, checking it as a visitor, and announcing it to your community. You can also see the workflow first in a guided Lab. Timing depends on your scope, provider readiness, approvals, and any domain or payment setup. We'll walk you through each step.
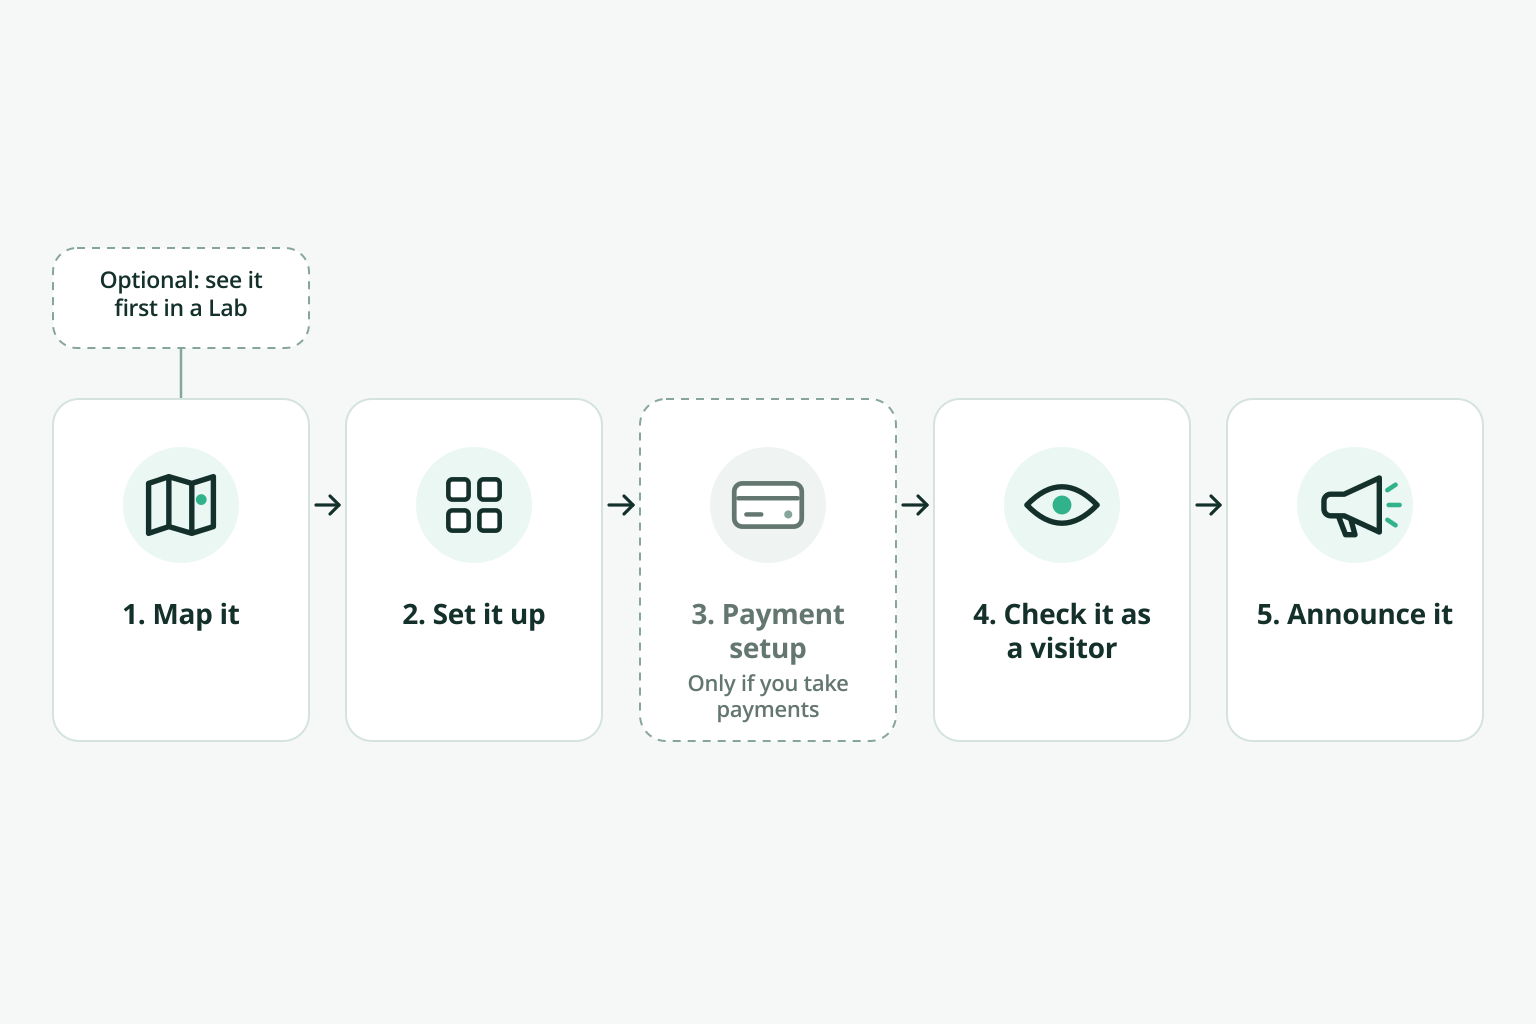
1. Map it
Decide who it's for, what members will do there, and who your first providers are.
Optional: see the workflow first
Our one-hour Lab is a guided build that shows how to set up a marketplace, so you can see whether the workflow fits before you commit.
2. Set it up
- Choose your categories and the setup that supports the offerings you need.
- Invite your first providers and approve their offerings.
- For white-label brands, set up your own domain.
3. Add payment setup, if you'll take payments
A directory or inquiry program doesn't need it. Paid bookings and payouts need Marketplace and payment setup.
4. Check it as a visitor
Before you announce, open the public page as a visitor would. Confirm your approved offerings are visible, and test the inquiry or booking flow you're about to promote.
5. Announce it
Use the channels your community already reads. How to launch a marketplace to your members has a plan and an announcement you can adapt.
Next: What it takes to run one